Locations
![arrow]()

Rotating Proxies

Rotating Residential Proxies
90 million IPs worldwide.
Starts from
$0.77
/GB

Unlimited Residential Proxies
Unlimited bandwidth on rotating IPs.
Starts from
$79
/
DAY
Rotating Datacenter proxies
Shared datacenter IPs, large IP pool.
Starts from
$0.77
/GB
Rotating ISP Proxies
Shared ISP Proxies, IP duration max 12 hours.
Starts from
$0.77
/GB
Static Proxies
Socks5 Proxies
Scraping Automation

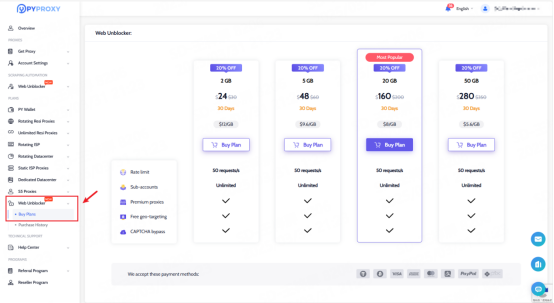
Web Unblocker
Unblock websites instantly.
Starts from
$5.6
/GB
Web Scraper API
A comprehensive full-stack scraping solution for large-scale data collection.
Client Proxy Generator
Use Cases

E-commerce
Access valuable e-commerce data using proxies.

Social Media Management
Manage multiple accounts and maintain anonymity.

SEO Monitoring
Track search engine rankings, keywords, and website performance.

Market Research
Gather market intelligence for informed decision-making.

Brand Protection
Safeguard brand reputation and monitor online mentions.

Web Scraping & Crawling
Precisely collect any data you want at scale.
Product

Pricing

Rotating Proxies
Static Proxies
Socks5 Proxies
Scraping Automation
Get Proxies

Web Proxy Generator
Client Proxy Generator
Use Cases

Locations

Help Center

Log out
Web Unblocker - Advanced proxy solution, automated web scraping
UP TO 20% OFF
FREE TRIAL 

Web Unblocker is online


